Kiandra Insights
Deep Dive Into OutSystems Plugins


This is Part II of a three part blog series on OutSystems development and how to create plugins. You can read Part I here.
As mentioned in my previous post, OutSystems allows users to create open source plugins and publish them to a community component registry called the forge. For Part Two, I’m explaining the creation of a FilePondUpload user interface forge plugin for Web Applications.
This is relevant to those interested in building a user interface forge component for an OutSystems web application. We’ll cover configuration, integrating a JavaScript library, some sneaky tricks and cleaning up temporary files.
Plugins are essentially OutSystems applications which contain modules. These modules can include any OutSystems component such as web pages, webblocks, business processes, entities (tables), actions (functions) and extensions (.NET code/libraries).
The FilePondUpload plugin exposes two webblocks providing drag and drop file upload, with the actions, entities and structures to support them. The plugin essentially integrates with OutSystems the FilePond JavaScript library by Rik Schennink.
Scenario
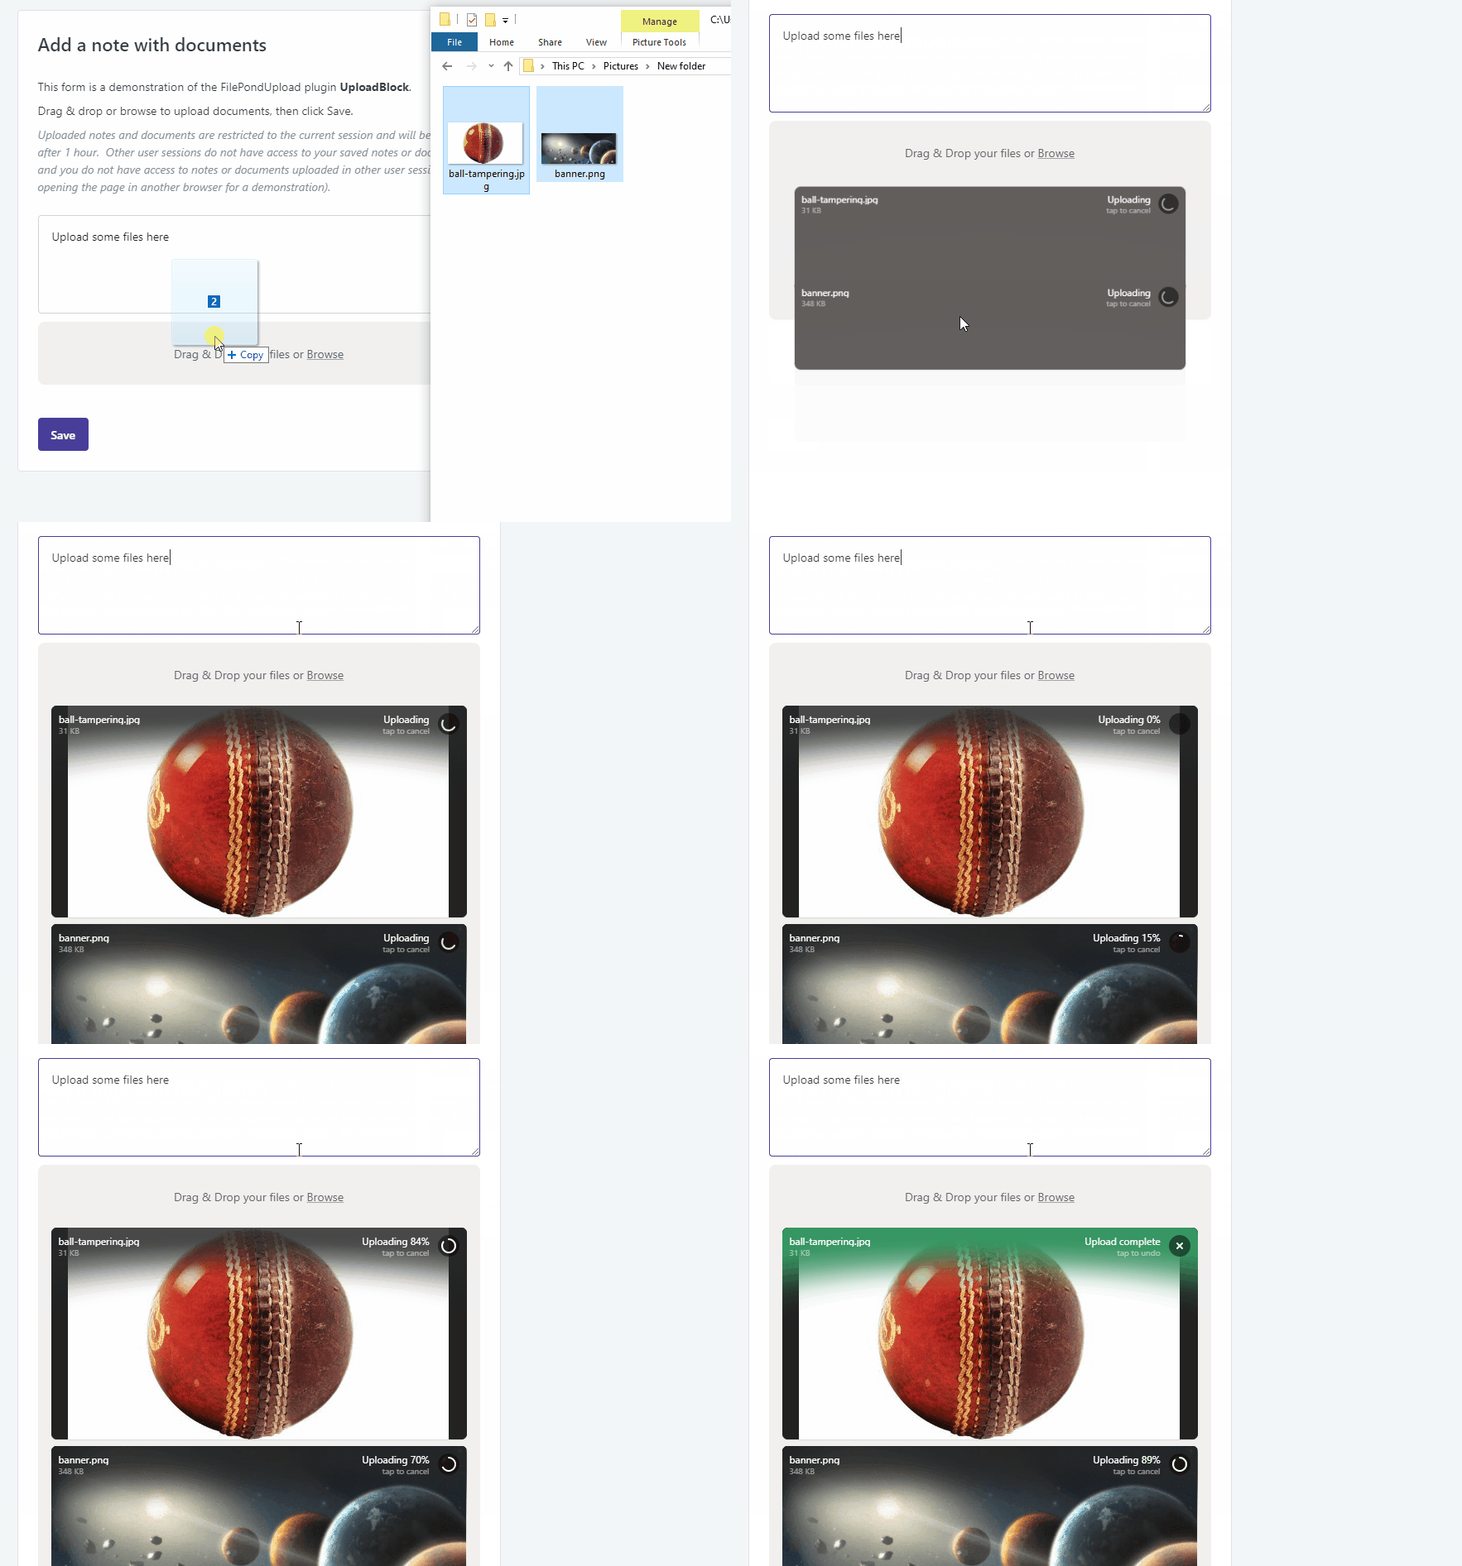
When included on a page, to use the FilePondUpload control is straight forward. The upload process goes like this:
- Either click browse or drag file/s onto the page.
- The file/s will upload, show progress and if configured, will show a thumbnail if the file is an image.
- The user clicks submit on the form to save their data.
- On the server, the uploaded file/s are available to store.

Using the Control in Development
At development time, the developer drops the FileUpload webblock onto the page. It requires a text input control and configuration.

The webblock has a placeholder area which expects a text input control associated with a text variable. The webblock makes this input box hidden. The input box is used to pass the list of uploaded file identifiers to the server when the user submits the form.
The developer also passes a FilePondUploadConfig structure to configure the webblock. When the page is first displayed, the upload library is configured and initialized. The upload control is then displayed.
Then when the form is submitted, the developer must call FilePondUpload_GetUploadedFiles(UploadTokens) to retrieve the uploaded files.
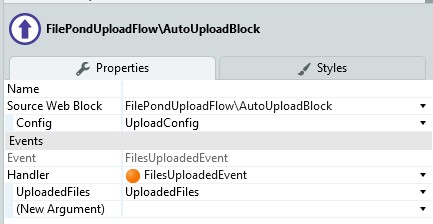
The AutoUpload webblock is even easier. It just has an event that returns a file whenever one is uploaded.

This is a very quick and easy way to get multiple file upload to work in your OutSystems application.
Getting Started
Before even starting, make sure you search the forge for a similar plugin. If you find one that does not quite meet your needs, know that you can request to join the dev team for the plugin.
A forge component is an OutSystems application, so the first step is to create an application. This requires a bit of thought, ask yourself, when developers use your plugin, what dependencies will your plugin bring into their environment? What UI framework will they be using? Silk UI or the newer OutSystems UI?
For a component for (non-react) web apps, choose Traditional Web Application for OutSystem UI or Website for Silk UI. If you can, make your plugin independent of the UI framework. This way developers using either framework can use the plugin.
The FilePondUpload plugin it does not depend on either OutSystems UI or Silk UI. So I chose Traditional Web, but Website would have been ok too.
You are able to upload a logo for your plugin here, but you can also do this later.
Next, create a module. As FilePondUpload does not depend on a framework, I chose Blank.

Now we have an application and an empty module for the plugin.
Create a HTML Test Harness
Before diving head-on into OutSystems, it is a good idea to first check that the library you intend to use works.
For this plugin I created a simple HTML page with a form. For other libraries I create whatever mark-up is needed to exercise the JavaScript library. Then I manually included all the JavaScript and CSS files. At this point you can directly reference the online copies of the files, but I like to download them and keep a note of which versions I am using. Then write any JavaScript you require to initialize, configure and work with the library.
Remember to check all the browsers that you expect your component will need to support. This practice has saved me many hours, potentially days of frustration.
The UploadBlock Webblock
The UploadBlock webblock as four components:
- a placeholder for the input text box,
- a container to hold the file upload control,
- a static image to show what the upload control looks like (only displayed at development time), and
- webblocks which load the CSS and Javascript for the control.

The configuration JavaScript locates the input text control for file tokens using the HiddenUploadContainer’s HTML id. The UploadContainer is where the FilePond upload control will be created.
The static image is displayed at development time, by putting it in the True fork of an If statement that is hardcoded to the value False. This static image is never displayed at runtime, but only to developer using the control. It’s a handy technique.
The webblocks at the bottom ensure CSS and JavaScript required by the control are loaded.
Integrating the Library
In order for the configure function to do its work, all the minified JavaScript for the FilePond control must be inserted on the page.
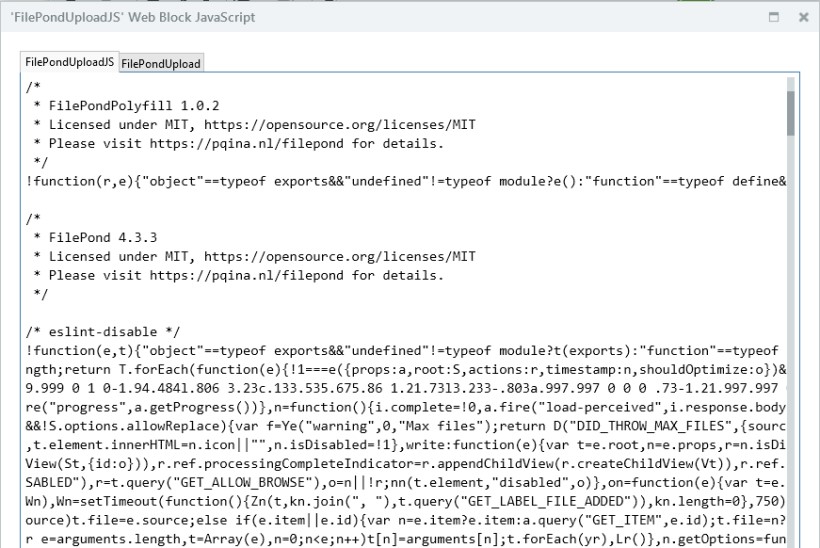
The FilePondUploadJS webblock contains the FilePond library JavaScript in it’s JavaScript attribute. The FilePondUploadCSS webblock contains the FilePond library CSS in its Style Sheet attribute. These webblocks have no user interface, but by placing these webblock on the page, their JavaScript and CSS will be available on the page.
The FilePondConfigureJS webblock contains configuration JavaScript in an Expression with Escape Content = No set. This webblock simply calls the configure function.
You could put all the files in the one webblock. I have only separated them so I can reuse the same JavaScript and CSS in another webblock.

Configuration
So how does the FilePondUpload plugin work? The JavaScript library must be initialized and configured, then it must call an endpoint on the server, store the uploaded files, and provide an action to retrieve the uploaded files later. Additionally, files that are never retrieved must be removed from the system, when the user does not click submit for instance.
There are a few common tricks to make the configuration work. First, to pass configuration to the library, the configuration structure is converted to JSON using JSONSerialize and passed to a custom configuration function. The FilePondIdOptions_ToJSON() and FilePondConfig_ToJSON() actions handle the serialization. These functions just use the standard OutSystems JSON serialization widget to serialize configuration structures.

The configuration function is loaded on the page via the JavaScript in the FilePondUploadJS webblock.
The configure function accepts JavaScript objects, then initializes and configures the FilePond control. This function is exposed on a JavaScript variable called FilePondUpload. The rest of the configuration functionality happens within a JavaScript “closure”.
.jpg.jpeg)
Notice how the configure function is the only function exposed by the closure. If you need to expose more functions, just add them to the object returned at the bottom.
Notice also that the configure function sets up all the watches and call-backs necessary. This is important but can be subtle. Apart from initialization, try to write JavaScript that references the webblock, rather than trying to make the webblock call functions in the plugin. This helps decouple the webblock from the JavaScript.
When the File Reaches the Server
For each file dragged on, a file upload is triggered. The FilePond upload library takes care of this, as well as the display of upload progress.
The FilePond library is configured to upload the file to the /FilePondUpload/Upload.aspx web page. This web page is restricted to only registered users, meaning only logged in users can upload files.
.jpg.jpeg)
When a file is uploaded, the Upload.aspx page’s preparation action runs which retrieves the file using HTTPHandler.GetRequestFiles() and temporarily stores it in the UploadedFile entity. The session id is retrieved using the HTTPRequestHandler.GetSessionId() action and stored with the file. This will be used to ensure the uploaded file is only available to the user who uploaded it. Lastly a unique text identifier, or token, is generated, assigned and stored with the file.
Sneaky text/plain Trick
The FilePond library sent a HTTP POST to the Upload.aspx page, and expects a simple text response, which is an identifier for the uploaded file. However, OutSystems will normally return a whole web page. So here is what we do. By using a Download widget in the Preparation, setting the Mime-Type to “text/plain” the web page will return a text response rather than the HTML of the web page. We then use the BinaryData API to convert the file’s text identifier to UTF-8 and pass it as binary data.
.jpg.jpeg)
As there may be multiple file uploads, multiple text tokens may be appended to the hidden input box.
When the user clicks the submit button for the form, the text tokens stored in the value of the hidden input box is sent along with any other form data. The text tokens can then be used to retrieve the uploaded files, via the service side action FilePondUpload_GetUploadedFiles(UploadTokens).
And voila, you have the uploaded files to do with as you wish!
Auto Upload
So that’s great, but the user still has to click on a button to submit the form, even though the file is already being held in temporary storage on the server.
This is why the plugin has a second file upload webblocks; AutoUpload.
The AutoUpload block will make the uploaded files available as soon as they have been uploaded. This block just uses a well known OutSystems pattern of placing a hidden button on the webblock, then clicking the button from JavaScript. The server side function then retrieves the uploaded files and calls the FilesUploaded event.
Removal of Temporary Files
When the files are retrieved from this action, they are removed from their temporary storage. The query to retrieve them also uses the session id to ensure another user may not access these files by guessing the token.
If the user closes the page and never clicks submit, the temporary upload files will be removed from the UploadedFile table once they are 30 minutes old by a background timer. A Site Property set to 30 defines the time period, so users of the plugin just need to adjust the site property if the time period should be longer or shorter.
A timer job runs regularly to remove files older than 30 mins.
Make it Fast to Use
Now that we have our functionality built, remember the whole point of OutSystems, it should be fast to use. Identify which things are slow or awkward and change them. Create helper actions to speed up common or tricky tasks.
FilePondUpload offers two helper functions to create the accepted file types list; FilePondUpload_CreateAcceptedFileTypes() and FilePondUpload_CreateCommonAcceptedFileTypes(). This makes it faster than coding a bunch of ListAppend widgets.
Create a Demo Application
Both to test the forge component, and as a way to show other developers how to use it, it is best to create a demo application.
If you require users are logged in, create a demo user and add a “Demo Login” button to the login page that just logs in as the demo user.
Create a new forge plugin
Now we have two OutSystems applications; one for the forge component, and one for the demo application.
To create the plugin, log into OutSystems forge, and create a forge component. There are some great guidelines available for this.
So that is how the FilePond Upload component works.
OutSystems has recently released React Web Apps. So stay tuned for migrating a component from OutSystems (Web Forms) Web Applications to React Web Apps.
More insights

Performance testing is a commitment to excellence
At Kiandra, we recognise and acknowledge the pivotal role of performance testing in achieving this fine balance. In this blog, we will unravel what performance testing truly means at Kiandra and why it's a cornerstone of our development philosophy.

Kiandra becomes first Premier OutSystems partner in the ANZ region
Kiandra are proud to announce that it has attained the status of Premier OutSystems Partner – the most important partnership status from the world’s leading enterprise low-code platform.

OutSystems Top Partner ANZ for 2022
Kiandra has received the OutSystems Partner of the Year Award for the entire Australia New Zealand region. The custom software solutions provider was recognised at the ‘Top Partner of Australia and New Zealand’.
Let’s discuss your next project
Whether you’re curious about custom software or have a specific problem to solve – we’re here to answer your questions. Fill in the following form, and we’ll be in touch soon.


.svg)


.svg)

